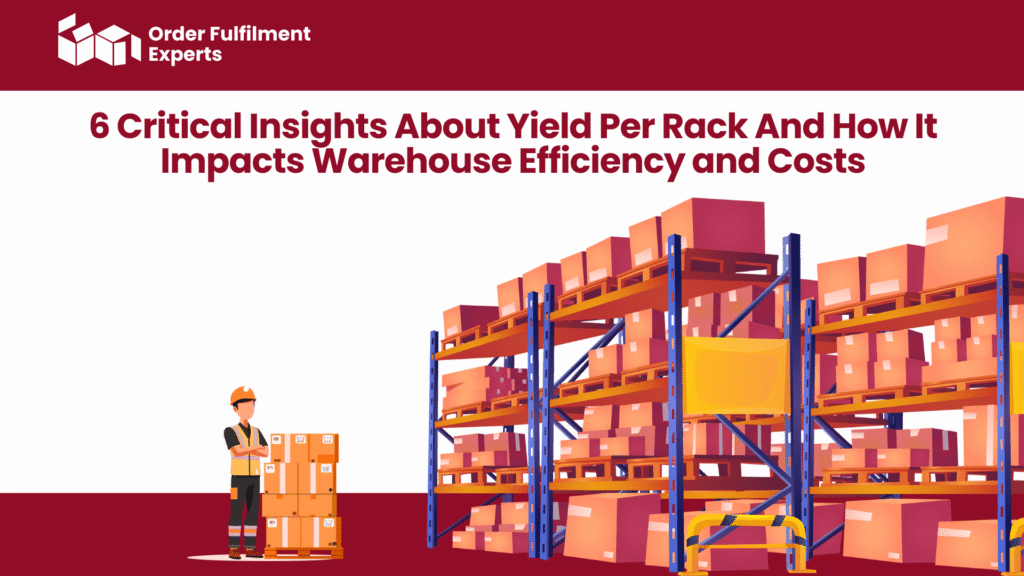
Yield per rack isn’t just a warehouse metric, it’s a direct indicator of whether your storage space is making you money or silently draining it.
In today’s competitive e-commerce landscape, every square metre of warehouse space has financial consequences. Rent, labour, and storage costs are rising, and the brands that scale profitably are the ones that optimise, not expand their space. That’s why yield per rack has quickly become one of the most critical benchmarks for operational efficiency and fulfilment ROI.
Put simply, yield per rack measures how much output each storage rack generates, whether that’s orders fulfilled, revenue produced, or stock movement efficiency. If you’re not actively tracking and improving this number, you may already be losing margin through wasted space, slow-moving inventory, or ineffective slotting strategies.
In this blog, we’ll unpack six powerful insights about yield per rack and show you how mastering this metric can unlock cost savings, boost warehouse productivity, and help your brand scale without the financial burden of upsizing.
What Does Yield Per Rack Actually Mean?
Before diving into the insights, let’s get clear on definitions. Yield per rack is essentially a performance indicator that shows how much “work” each rack in your warehouse does.
Think of it like this:
- If you have 100 racks and they collectively fulfil 20,000 orders per month, your yield per rack is 200 orders per rack.
- If another warehouse of the same size pushes through 40,000 orders, their yield is 400 orders per rack, double the efficiency with the same space.
By tracking yield per rack, you shift the focus from how much space you have to how well you use it.
6 Crucial Insights About Yield Per Rack
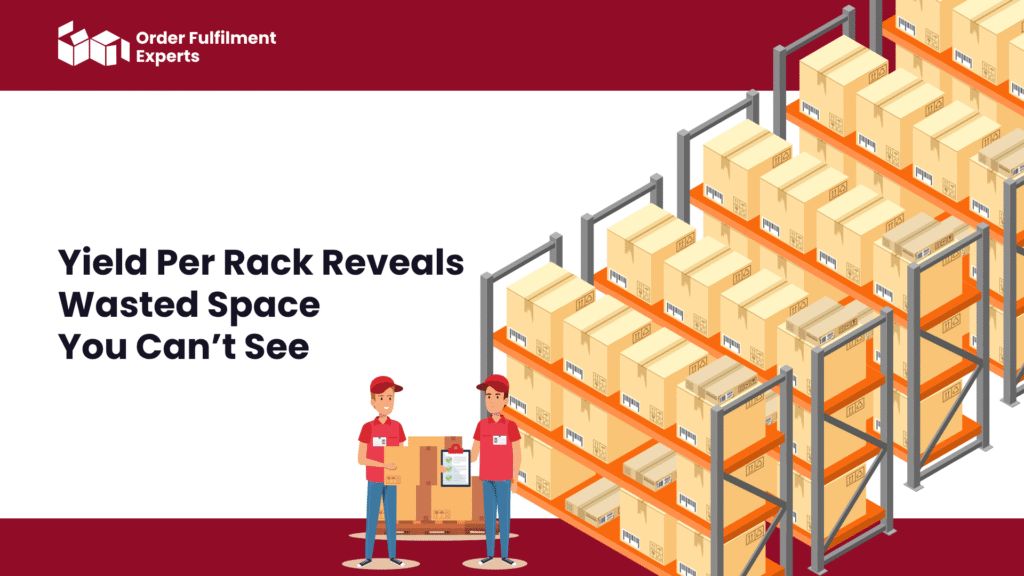
1. Yield Per Rack Reveals Wasted Space You Can’t See
It’s easy to assume that if racks look full, they’re being used efficiently. The reality? Many businesses store products inefficiently, placing slow-moving SKUs in prime locations, or using racks for bulk storage instead of high-velocity items.
By measuring yield per rack, you uncover racks that are costing money without delivering output. That visibility allows you to re-slot inventory, consolidate underperforming racks, and drive better rack space utilisation.
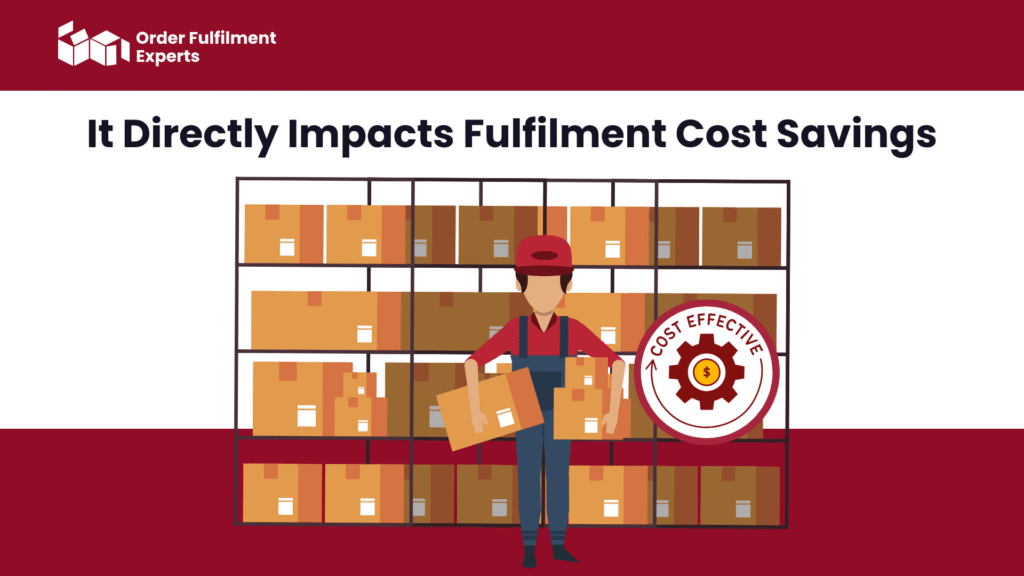
2. It Directly Impacts Fulfilment Cost Savings
Your warehouse costs rent, utilities, and labour are fixed whether racks perform well or not. A low-yield rack means you’re paying premium overhead for poor returns.
On the flip side, increasing yield per rack improves your fulfilment cost savings because:
- More orders flow through the same footprint.
- Staff productivity increases (less time wasted on underperforming zones).
- Expansion costs can be delayed or avoided altogether.
The takeaway? The higher your yield per rack, the better your return on every pound invested in storage.
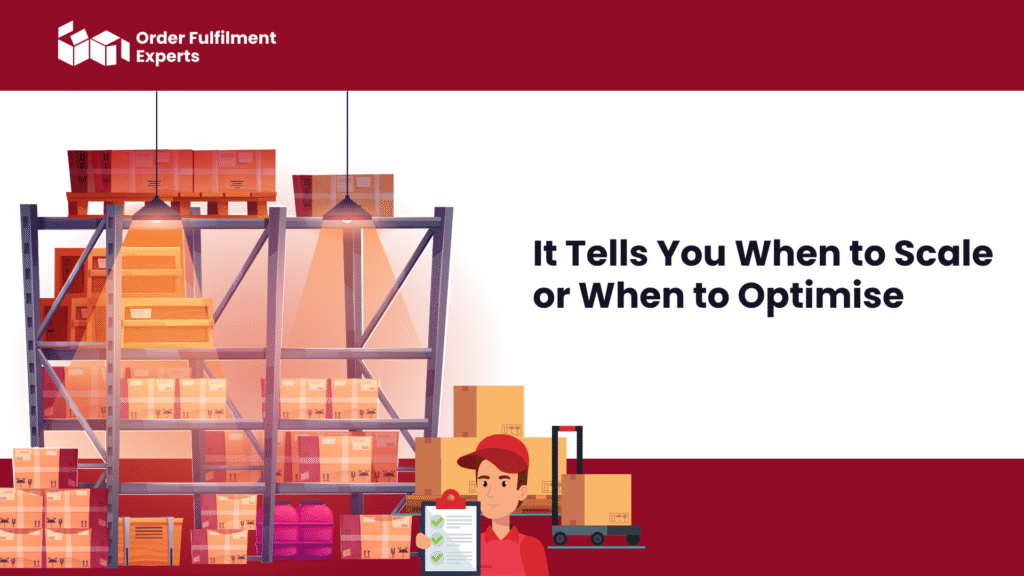
3. It Tells You When to Scale or When to Optimise
Business owners often face a big question: Do we need a bigger warehouse, or are we just not using our current space efficiently?
Yield per rack answers that.
- If your racks are maxed out and still producing high yield, it may be time to expand.
- If yield is low, the issue isn’t space, it’s warehouse efficiency.
This prevents costly mistakes like moving to a larger facility before you’ve maximised what you already pay for.
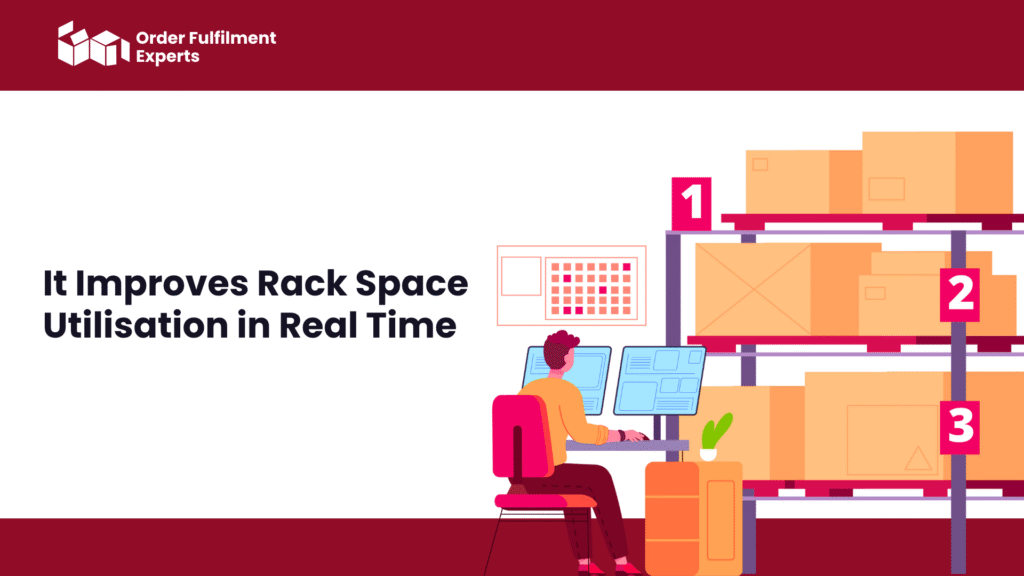
4. It Improves Rack Space Utilisation in Real Time
Tracking yield per rack isn’t just a one-off analysis. Modern warehouse management systems (WMS) can monitor performance in real time, showing which racks are underperforming and suggesting better slotting strategies.
For example:
- Move fast-moving SKUs closer to packing stations.
- Store bulky, low-demand products in secondary locations.
- Use dynamic storage allocation to maximise space.
By improving rack space utilisation, you reduce bottlenecks, speed up picking, and keep staff focused on high-value activities.
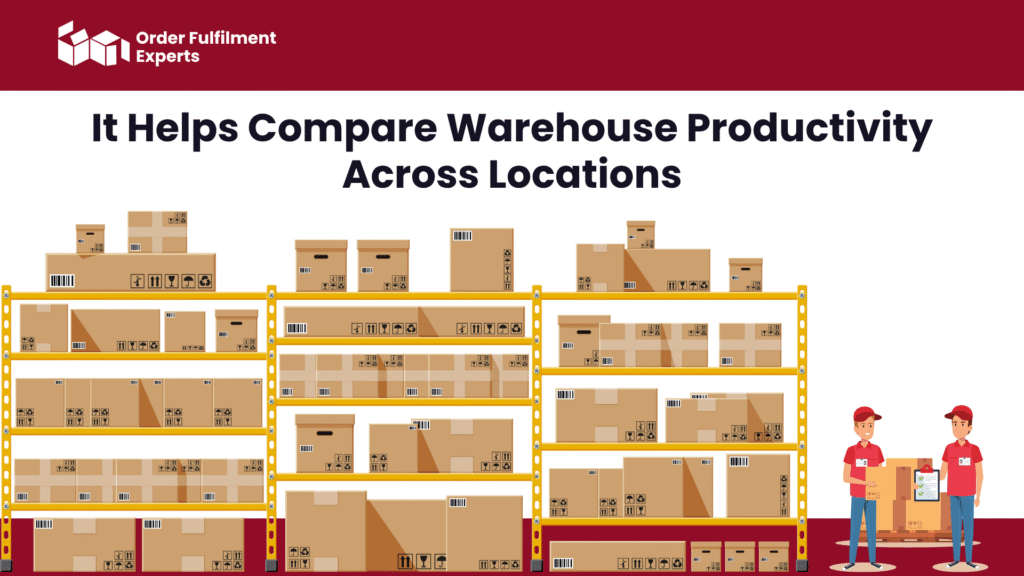
5. It Helps Compare Warehouse Productivity Across Locations
For businesses running multiple warehouses or working with a 3PL, yield per rack provides a simple apples-to-apples comparison.
Instead of vague metrics, you can clearly see which facilities deliver the most output per rack. That makes it easier to:
- Benchmark performance.
- Standardise best practices.
- Hold teams or providers accountable.
This level of visibility is especially valuable for scaling brands juggling warehouse efficiency across multiple regions.
6. It Builds a Smarter Case for Outsourcing to a 3PL
Here’s the uncomfortable truth: many in-house warehouses operate with poor yield per rack simply because they lack the technology, expertise, or processes to optimise it.
This is where outsourcing to a fulfilment partner like Order Fulfilment Experts (OFEX) can make a huge difference. With advanced storage optimisation strategies, integrated WMS, and experienced teams, a 3PL can dramatically boost your yield per rack, without the stress of managing it yourself.
The result? Lower costs, higher warehouse productivity, and a fulfilment operation that scales with your brand.
How to Calculate Yield Per Rack and Benchmark It
To calculate yield per rack, use this simple formula:
Yield per Rack = Total Output (Orders or Revenue) ÷ Number of Racks
Example:
- 500 racks fulfil 100,000 orders in a month.
- Yield per rack = 200 orders per rack.
Industry benchmarks vary, but a good starting point is:
- Below 150 orders per rack/month → Inefficient use of space.
- 150–300 orders per rack/month → Average performance.
- 300+ orders per rack/month → Strong warehouse efficiency.
By regularly benchmarking, you can spot trends early, whether that’s growth requiring expansion, or inefficiencies dragging your yield down.
How OFEX Helps You Maximise Yield Per Rack
At Order Fulfilment Experts (OFEX), we specialise in helping scaling brands get more from every rack. Our solutions include:
- Advanced slotting strategies that put the right products in the right places.
- Warehouse technology that tracks inventory flow in real time.
- Optimised storage models that balance bulk stock and high-turnover items.
- Integrated carrier and marketplace connections to keep fulfilment smooth end-to-end.
We don’t just store products, we ensure every rack works harder for your business.
At the end of the day, warehouse efficiency isn’t about square footage, it’s about how much yield you’re getting from every rack. If your racks are underperforming, you’re paying for wasted space, inefficient labour, and fulfilment bottlenecks that stall growth.
The brands that win in today’s e-commerce landscape are the ones that master yield per rack. And if you’re not measuring it or worse, if you’re seeing low results, it’s time to make a change.
That’s exactly where Order Fulfilment Experts (OFEX) can help. We give you the tools, insights, and strategies to boost your yield, cut costs, and build a fulfilment operation that grows with your brand.
Ready to make every rack a profit driver? Book a consultation today at Order Fulfilment Experts.
Stay connected with us:
- Facebook: OFEX UK
- Instagram: @ofex_uk
- LinkedIn: Order Fulfilment Experts